|
| |
|
|
|
|
|
|
|
|
|
| My 32 Ford Restoration Project |
|
|
Most recent pics...
These pics will be updated hopefully on a regular basis!
|
|

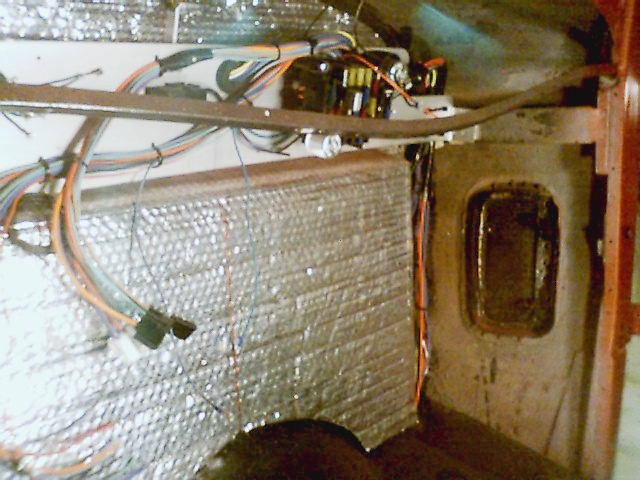
Dash with VDO guages
Here is a pic of an 1/8" aluminum panel I made to accomodate the fuse panel. The main purpose of the panel is to avoid putting holes in the firewall. It looks somewhat of a mess, as the steering column and dash wires are hanging there- but the worst part of it is over. If you look on the right side of the panel, you can see two of the four main harness' exiting through the floorboard; more on those later. Also on the right side between the cowl and door is the Studebaker vent that used to be there. I know, it's still there, but the outside is filled in. Also visible on the firewall is something that looks like bubble wrap with aluminum foil on both sides. It is used on the firewall and the roof of the car to help shield the heat away. Soundproofing will be installed on top of the foil layer before the interior is done. The ignition module is mounted on the left side and behind the aluminum panel. This will keep it from the elements and extreme temperatures inside the engine compartment. It is also designed for easy removal, with just unplugging the two plugs and a ratchet on three 3/8" bolts, it will fall right out into your hand.
|
|
|
|
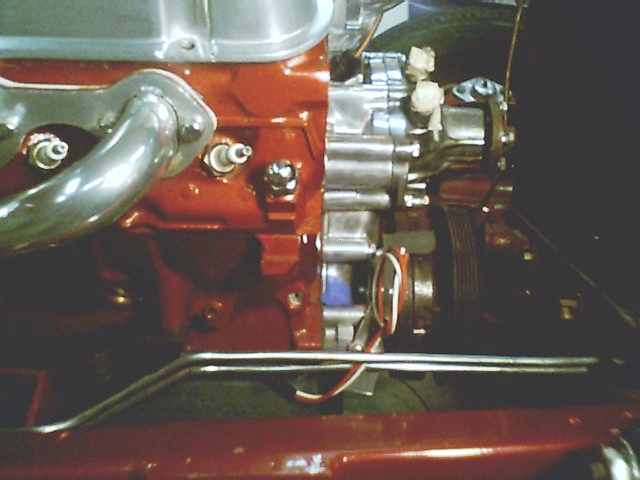
We went with the E-Z Wiring harness, and so far is satisfactory. The two harness' that exit the floorboard; one goes to the rear, and one goes to the front. The "engine" harness passes through the frame rail towards the front. In this pic you can see the alternator wires and electric choke wire hanging there. The wires were passed through a rubber grommet under the right motor mount, and ran along the oil pan, underneath and hard to detect. Continuing forward is two more looms; one for the headlights, turn signals, horn and electric choke, and the other being oil pressure, temperature sending unit, and coil positive.
|
|
|
|
|
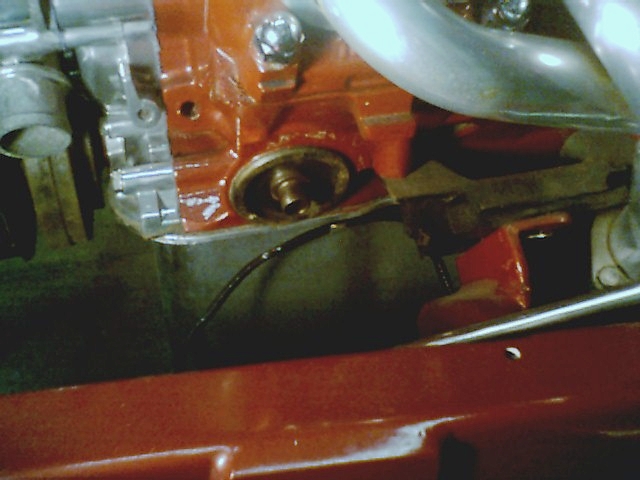
Here you can see the wires for the oil pressure and temperature sending unit, and coil positive wire. The elongated ignition module wires will pass through the floorboard on the left side and meet up with the others...that way, the ignition/coil/distributor wires will be the only thing on the left side in that particular harness. I could have ran them around the right side as well, but i'd rather have a few "dedicated" routes other than just everything crammed through one big grommet. I'm currently thinking of a stealthy way to route them from where they are now to where they go- and even though it's a short distance, it will probably require a bit more creativity. |
|
|
|
|
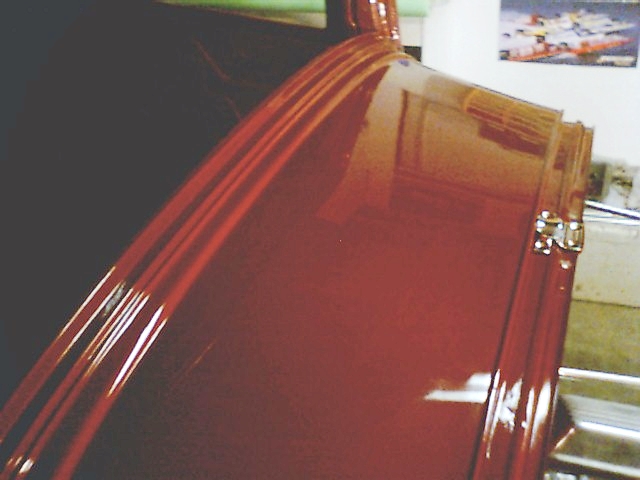
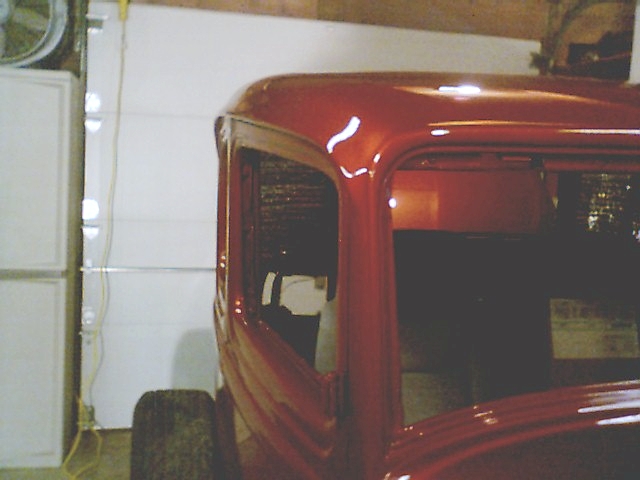
Here is just a pic of the original cowl vent that was filled in. To make a long story short, my dad was confronted about using the body for a plug to make a mold. Although I told him not to do it, he still did it. He was to get a complete body (body, fenders, hood, trunk) for his "efforts", even though we had no use for one. The guy in charge suddenly passed away (Godspeed, Mr. Bob Meddars), and all my dad got was realizing that some theivin' bastard stole our windshield frame. They are NOT cheap either.
|
|
|
|
|
I guess the only good thing about it is the fact that they filled in the rain gutters, in which they had to do to be able to remove the part from the mold. It is different, and I like it. Although my digital cam sucks, you can still see the Cayenne metallic paint shine. |
|
|
|
|
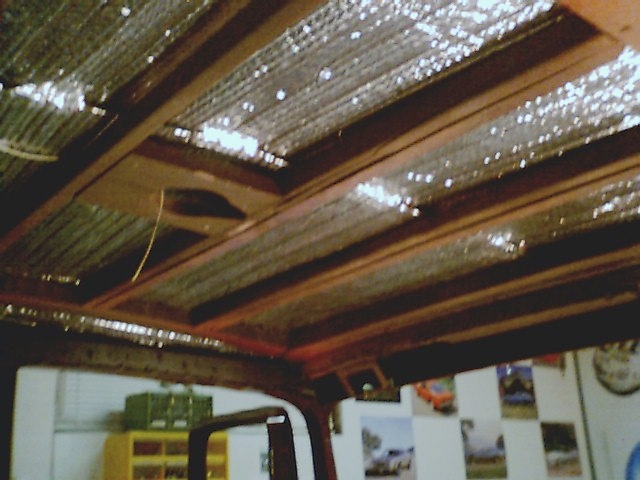
This is just a pic of the "aluminum bubble-wrap" on the top. Hopefully it will help keep some the overhead direct heat out. Afterall, it can't hurt. One thing I find interesting is the amount of wood used in making the car. You can see the wooden frame which was there when it had the canvas top. You would kind of expect the wood to be either rotten or very hard. It looks as if it were put there 10 years ago. You can also see where the dome light will reside. |
|
|
|
|
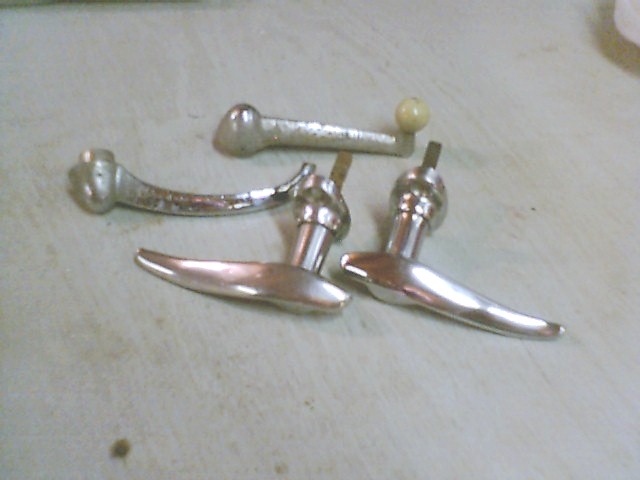
Here are the original door handles, with the right side inside door handle and window crank. The inside door handle and window crank are pitted beyond reasonable repair, but the outside door handles cleaned up nicely. The right door handle (on the right) was wet sanded with 2000 grit paper, and polished by hand. Not too bad for a piece of stainless 73 years old! |
|
|
|
|