|
| |
|
|
|
|
|
|
|
|
|
| Photo4 Page: |
|
|
Most recent work, with a bit of detail
This page will change on a regular basis to focus more precisely on the current area of work.
|
|
|
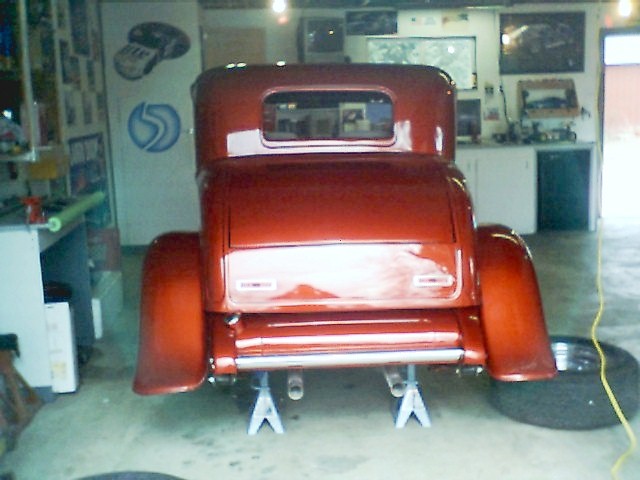
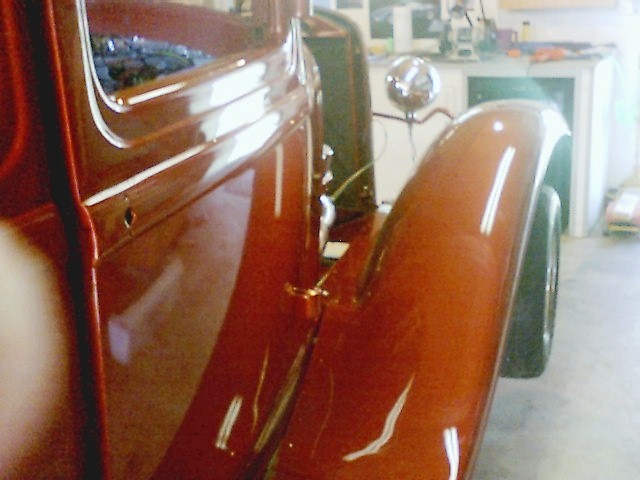
Rear fenders are on!
I decided to go ahead and install the rear fenders, and work around them when touching up the frame rails. But everything has to be done in order, so in order to do that, I first had to install the rear spreader bar and the frame horn covers that cover up the ends of the frame rails. Now, I can go ahead and cut and trim the running boards, so that they can be bolted on after the underside wiring is 100% complete. Then once the running boards are on, the front fenders are next. |
|
|
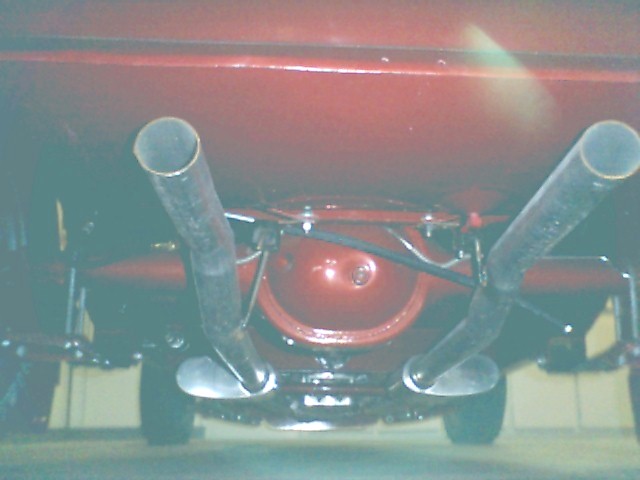
Underneath...
A crappy pic to say the least, but it's all I have. Here you can see the bottom of the fuel tank, the 8" Ford rear end, and exhaust. Once the car is complete and ready for final detailing, the exhaust, from the collectors back, will be removed for polishing. I will then also polish up the backing plates, driveshaft, transmission (already polished but somewhat oxidized), headers, intake, etc. You can also see the fuel line hanging down, which still needs to be cut to length and installed onto the tank fitting.
|
|
|
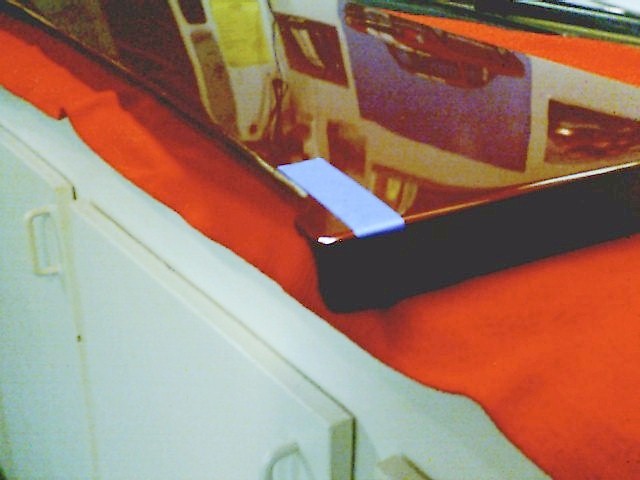
PITA
The running boards also needed some modification to mount. Where the running board meets the rear fender, the "ear" had to be trimmed off, then cut in so the running board would fit around the shackle for the rear leaf springs. A "mock-up" before paint is of course the way to go, but to make a long story short, the car was in the body shop for quite some time before the guy started on it, and it became crunch time when the car was moved from Florida back to Ohio. In fact, a seperate trip was made to Florida afterwards to fetch the hood, fenders, and running boards. All that was brought up at first was the frame, body, doors, and trunk. I cant really complain, as the guy did a pretty good job on the paint, and spent alot of time redoing the lead-filled roof that replaces the original canvas top section, the rain gutters, and the cowl vent which was filled in. The guy does great work, so I can deal with the fact that I have a few areas to touch up. Am I a painter? LOL...not even close, but by the time I am done, it will be right one way or another. If ya cant paint...learn how to wetsand. |
|
|
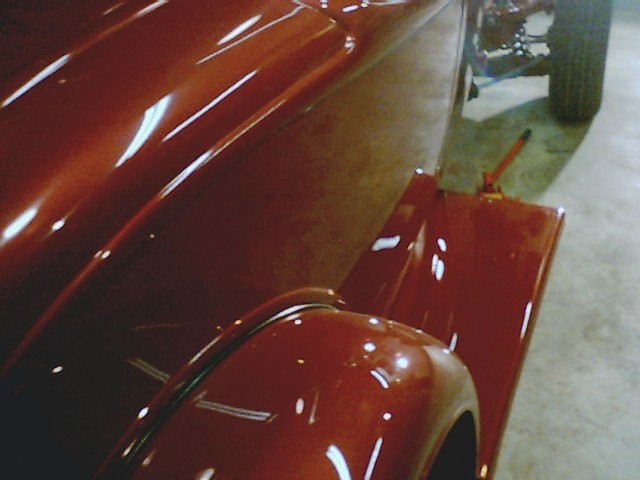
Bigger PITA
This is a pic of the first attempt at mounting the running boards and fenders. The rear fenders have to be bolted in place first, which consists of about nine bolts on each fender. Then the running board is supposed to be positioned, followed by the front fender. Yea, right. I was anxious to get the fenders on it to see how the front end sat, but the job is by far the biggest pain in my ass out of everything else I have done. The fenders of course needed trimmed, which is the only part that replaces an original part that is made of fiberglass. I had to cut out around the radiator to make it fit, followed by several other areas that needed trimmed. Both the running boards and front fenders are now in place.
|
|
|
The saga continues
Now the running boards and front fenders are in place. The holes were drilled in the fenders to mount the headlight bar, which was another fun task. All vital things I guess, but to be honest, I will be glad to get back to the wiring, which originally was planned to be completed by now. I again had to negotiate. |
|
|
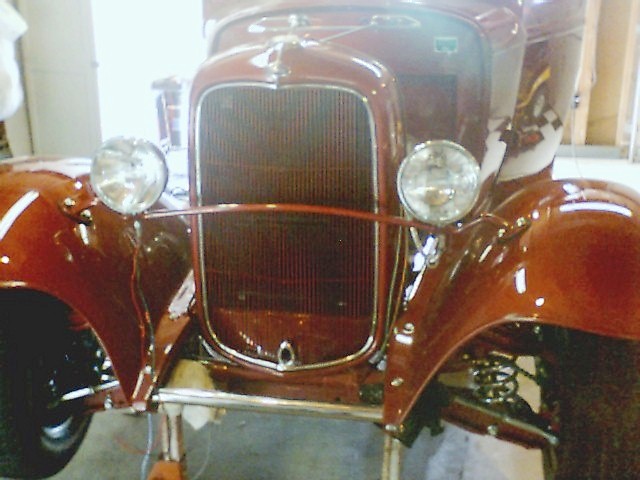
Just when I was about to reach for the short sword...
Well, here it is with the dreaded task of mounting the fenders and running boards complete. The dropped headlight bar with the small headlights look good in front of the original grille, shell, and stainless trim pieces. I have waited a long time to see this, and it is a major obstacle conquered compared to the rest of the build. Also, although there is no picture of it, the "double D" and the steering U-joints were welded and put into place, connecting the recently mounted Ididit steering column to the Mustang steering rack.
|
|
|
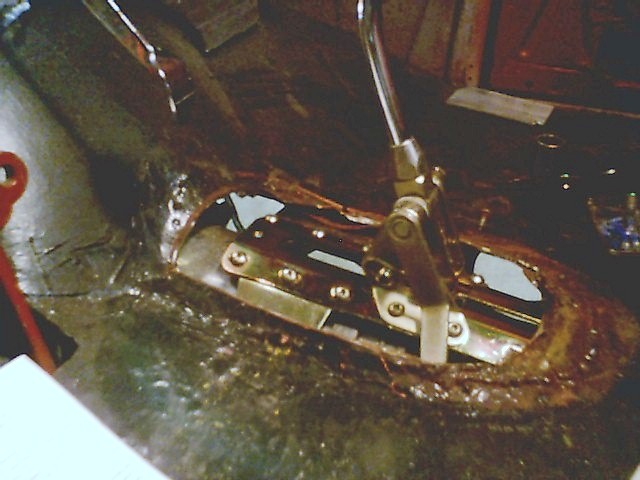
Reconsidering the short sword...
I was not at all surprised to find that the transmission hump in the floorboard had to be cut out to clear the shifter linkage. After screwing with fiberglass reinforced cut-off wheels for the Dremel for about a half an hour, I decided to break out the air hammer. I sharpened the cutting bit so that it would not fold the metal under as much, and proceeded to cut out a perfect hole in the floorboard in a matter of about a minute. I then touched up any areas that were folded down with a crescent wrench. The car now has a working accelerator pedal, transmission linkage, and it steers! What else do you need? Alright...we need brakes. The master cylinder is in place, but needs a hole cut in the floorboard also for access. The brake pedal also has an "O" shaped piece of steel that the brake pedal bolt passes through. This piece has to be cut from the pedal and welded to the left side of the pedal to make more room between the gas pedal and the brake pedal. With size 13's, I need all the room I can get. The accelerator pedal is already almost directly in front of the gear shifter, but there is not an abundance of room in these cars, and my dad is no smaller. Especially with that long shifter that is as high as the dashboard, were gonna look like an Ed Combs cartoon. |
|
|